If your supplier changes prices or availability every week, editing products one by one is not an option. You can bulk update prices and stock in Magento 2 with the built-in CSV import, using a very small file. This guide shows the exact file layout, settings and checks that keep the catalog safe.
- Build a minimal CSV that updates only price and stock
- Run the native import with the right behavior and validation
- Handle multi-source stock, store-view prices and reindexing
- Avoid the errors that most often break updates
Step 1: Understand what the native import can update
The Magento import works on existing products when you use the Add/Update behavior. Products are matched by sku, and only the columns present in your file are changed.
- Columns you leave out are left untouched.
- Columns you include with an empty value are also left untouched, unless you use the empty-value constant (see Step 5).
- A new SKU creates a new product, so a typo in a SKU can create an unwanted product.
Step 2: Export a reference file first
Before touching live data, export the current values. This gives you a backup and the exact column names your store uses.
Click Continue and download the file when it is ready. Keep it as a rollback copy: re-importing it restores the previous prices and quantities.
On large catalogs, use the filter grid under the export to limit the file to the SKUs you plan to change. The export is generated by the queue, so make sure cron is running if the file never appears.
Step 3: Build a minimal update CSV
Create a UTF-8 CSV with a header row. For the default source and a single website, this is enough:
sku,price,special_price,qty,is_in_stock
TSHIRT-BLK-M,24.90,,120,1
TSHIRT-BLK-L,24.90,,0,0
MUG-WHT-01,9.50,7.90,340,1
What each column does:
sku: the unique product code, matched exactlyprice: the regular price, with a dot as decimal separator and no currency symbolspecial_price: optional promotional priceqty: quantity for the default sourceis_in_stock:1for In Stock,0for Out of Stock
24.90 into 24,90 or strip leading zeros from SKUs, and both will break the update. Step 4: Run the import
Open the import screen and set the options carefully.
Then click Select File to Import, choose your CSV and press Check Data. Magento reports how many rows are valid and lists errors by row number.
- If validation is green, click
Import. - If there are errors, fix the file and check it again instead of importing partial data.
Check Data and validate again before clicking Import. If you are unsure, test the file on a staging copy, or with just 3-5 rows on production first. A small trial reveals separator and format problems immediately.
Step 5: Handle special cases
Clear a special price
An empty cell does not remove a value. To clear special_price, put the empty-value constant in the cell:
- Set
Empty attribute value constant(shown in the import form) to its default__EMPTY__VALUE__. - Write that exact text in the
special_pricecell for the SKUs you want to clear.
Prices per store view or website
If Catalog Price Scope is set to Website, add a store_view_code column and one row per store view that needs a different price. Rows without a store view code update the global/default scope.
This setting decides whether prices can differ per website. Change it only if you really need separate pricing, because it affects the whole catalog.
Stock with multiple sources (MSI)
The qty column only covers the default source. If you use several inventory sources, use the dedicated source import.
The file uses the columns sku, source_code, status and quantity, one row per SKU and source. Use the sample file offered on the import screen to confirm the exact header names in your version.
Advanced Pricing entity type, not by the Products import. Use it when you manage customer-group or quantity-based prices. Step 6: Verify the result and reindex
After the import, check that the changes appear on the storefront.
If indexers are set to Update by Schedule, prices and stock appear after the next cron run. To refresh immediately from the command line:
bin/magento indexer:reindex catalog_product_price cataloginventory_stock
bin/magento cache:flush- Open two or three updated products in the admin and on the storefront.
- Check that out-of-stock items show the correct status.
- If you use full page cache, flush it so customers see new prices.
Step 7: Repeat safely (and keep it repeatable)
Core Magento has no built-in scheduler for CSV imports, so each update is a manual upload. If the update is recurring, standardize the process:
- Keep one template file with fixed column order.
- Save the exact separator and encoding you use.
- Keep every exported backup with a date in the filename.
- Document who runs the import and when.
Checklist
- ☐ Exported the current catalog as a backup
- ☐ CSV is UTF-8, comma separated, with a
skuheader - ☐ Prices use a dot as decimal separator
- ☐ Import Behavior is
Add/Update - ☐
Check Datapassed with no errors - ☐ Multi-source stock handled with
Stock Sourcesimport - ☐ Indexers are
Readyand cache is flushed - ☐ Spot-checked products in admin and storefront
Common mistakes
Problem: Prices show as 24 or 2490 after import.
Fix: the decimal separator was changed by the spreadsheet. Save as CSV UTF-8 and check the file in a text editor.
Problem: New unwanted products appear after the import.
Fix: a SKU in the file does not match an existing one (extra spaces, different case or leading zeros removed). Trim SKUs and compare with the export.
Problem: Stock changed in the file, but the product still shows Out of Stock.
Fix: include is_in_stock set to 1, and check that the product's Manage Stock setting and source assignments are correct.
Problem: Updated prices do not appear on the storefront.
Fix: the price indexer or cache is stale. Run the reindex command and flush the cache, and confirm cron is working if indexers are on schedule.
Problem: The import hangs or times out on a large file.
Fix: split the file into batches of a few thousand rows, and make sure PHP max_execution_time and memory limits are adequate.
FAQ
Can I update only the price without touching other data?
Yes. Use a CSV with just sku and price and the Add/Update behavior. Other attributes are not changed because their columns are absent.
Does the native import update the stock quantity of every source?
No. The qty column updates the default source only. For several sources, use the Stock Sources import with a source_code column.
How do I remove a special price in bulk?
Put the __EMPTY__VALUE__ constant in the special_price cell of each SKU to clear. A simply empty cell leaves the old value unchanged.
Can Magento import prices automatically every night?
Not natively from the admin. The standard import is manual. Automation requires a custom cron script, an integration, or an extension.
A faster alternative
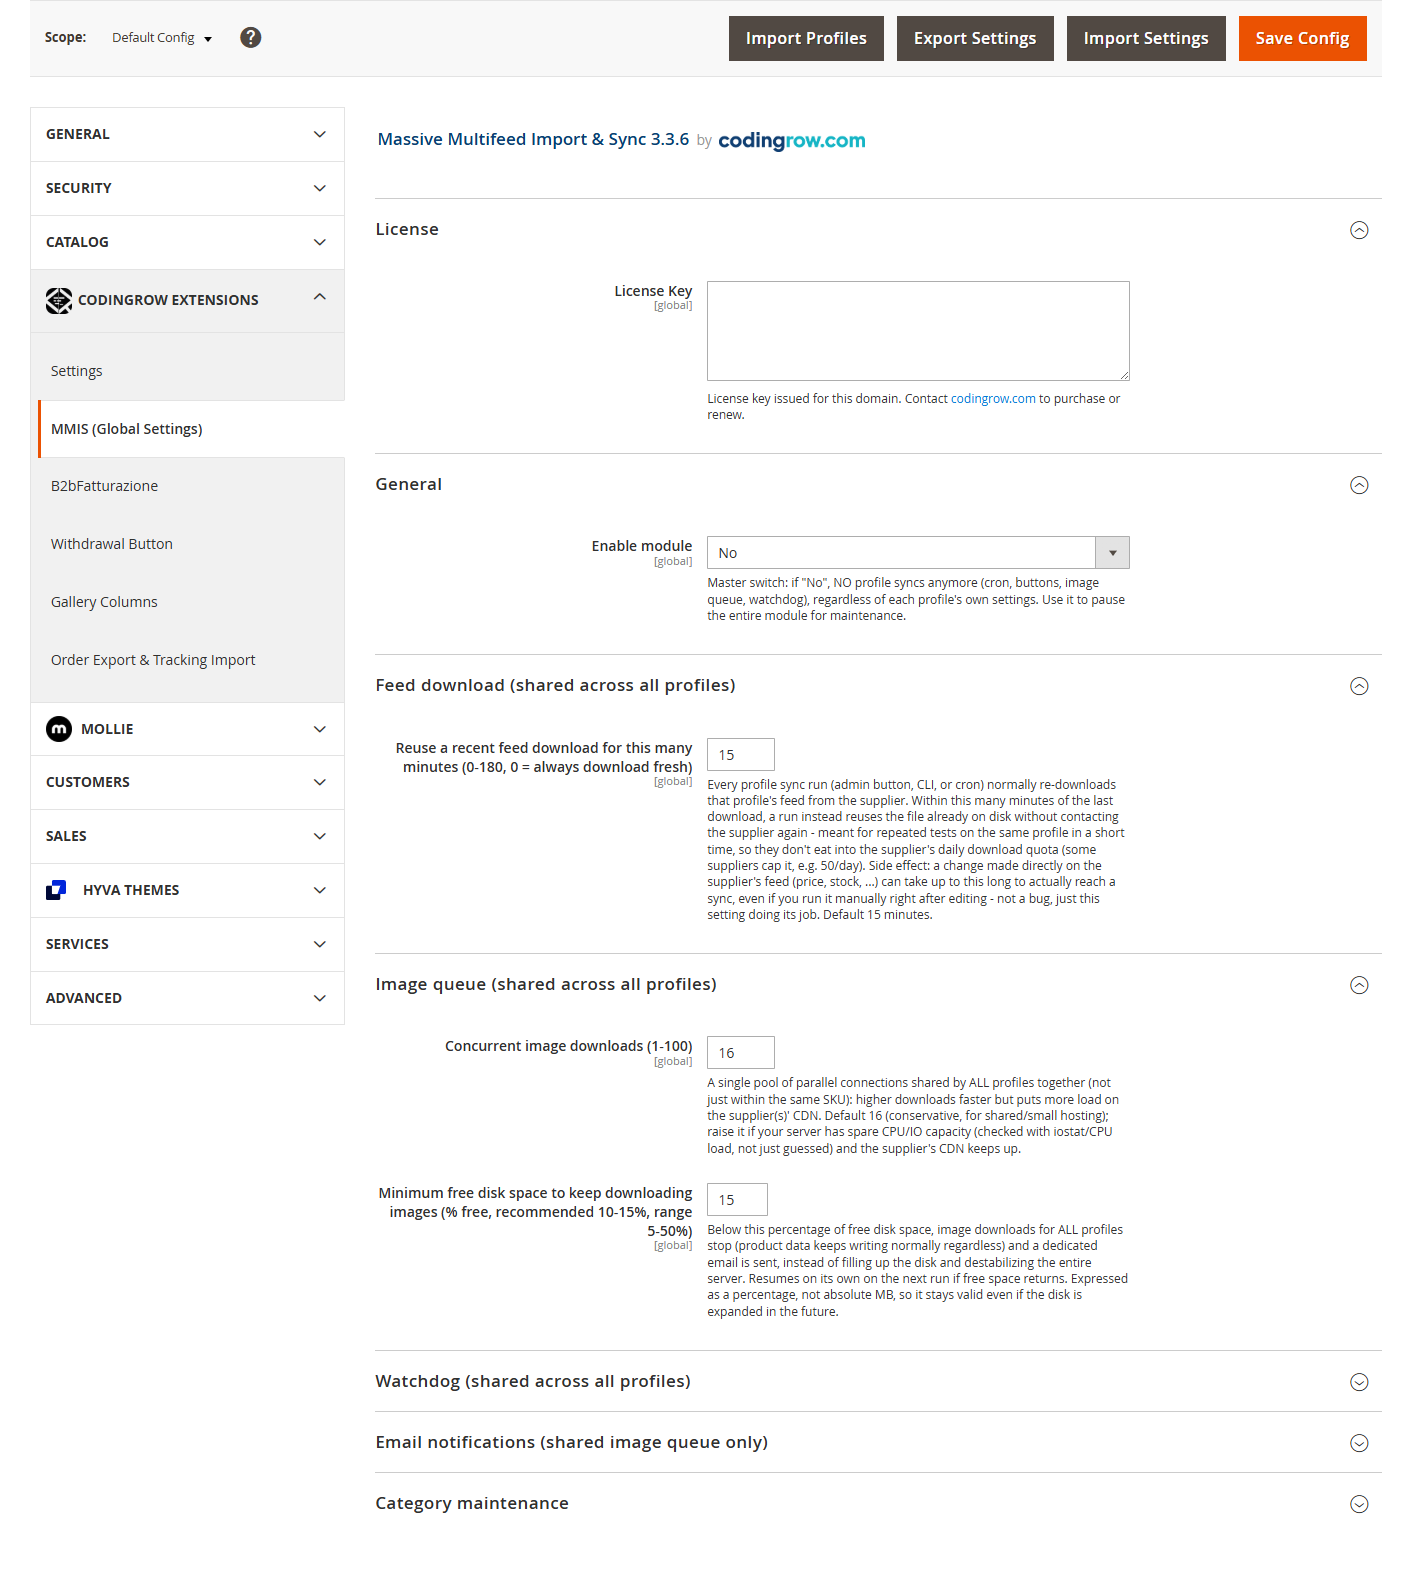
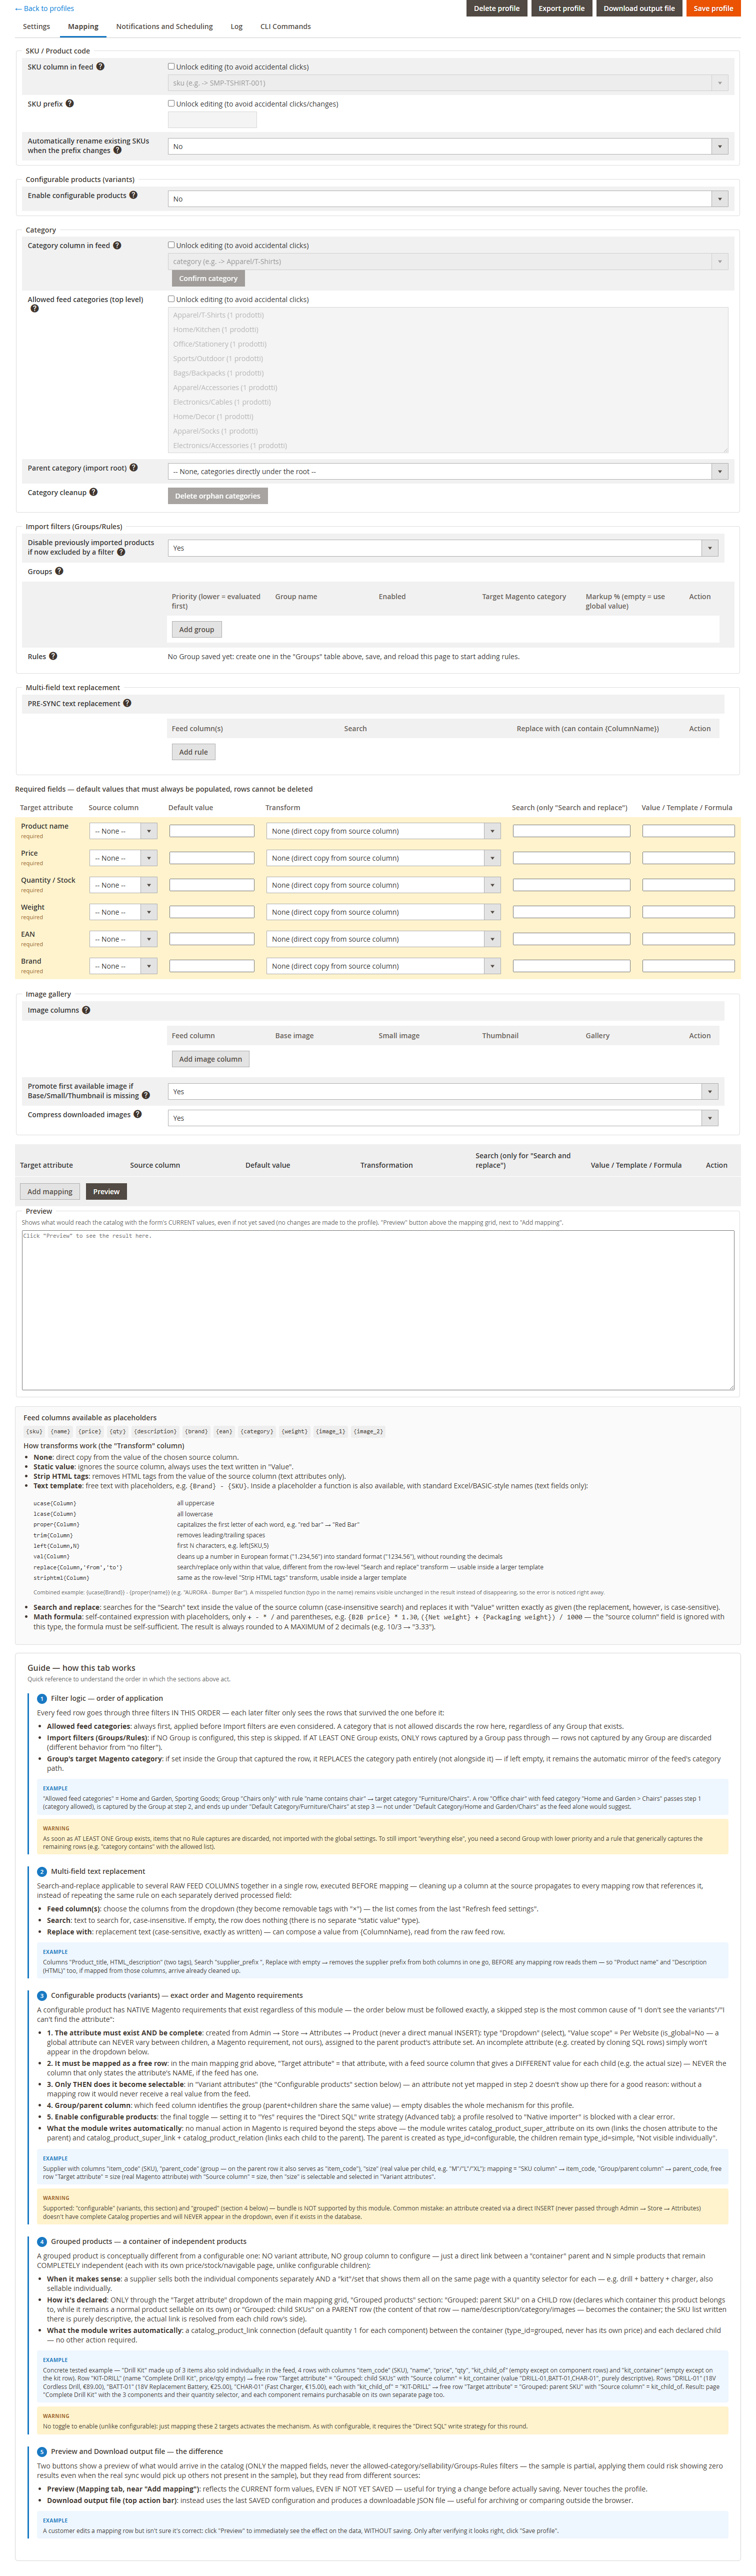
The native import is reliable, but when your supplier sends a feed with different column names, you end up reshaping spreadsheets by hand before every run. MMIS, a mapping-based product import tool for Magento 2, lets you map the supplier's feed columns to Magento attributes once, then reuse that profile for later updates.
In a profile, you assign SKU, categories, required attributes and image columns to the fields discovered in the feed.
If you update a handful of products now and then, the native method above is all you need. If you repeat it for large supplier feeds, a saved mapping can save you a lot of manual work.